
Limescale is one of the most common and frustrating problems in bathrooms. It appears as a white or chalky buildup on faucets, showerheads, and tiles, making even a clean bathroom look neglected. Over time, it can become harder to remove and may even affect how fixtures function.
The key to dealing with limescale is not just removing it, but doing so in a way that protects your surfaces from damage.
What Causes Limescale Buildup
Limescale forms when water with a high mineral content evaporates and leaves behind calcium deposits. This is especially common in areas with hard water.
Every time water dries on a surface, a small amount of mineral residue is left behind. Over time, these deposits accumulate and become visible as limescale.
Understanding this process helps explain why regular maintenance is necessary.
Where Limescale Appears Most Often
Limescale tends to build up in areas that are constantly exposed to water. This includes faucets, showerheads, glass doors, and tile surfaces.
It is especially noticeable on shiny or dark surfaces where the white residue stands out more clearly.
Paying attention to these high-risk areas allows you to address the problem early.
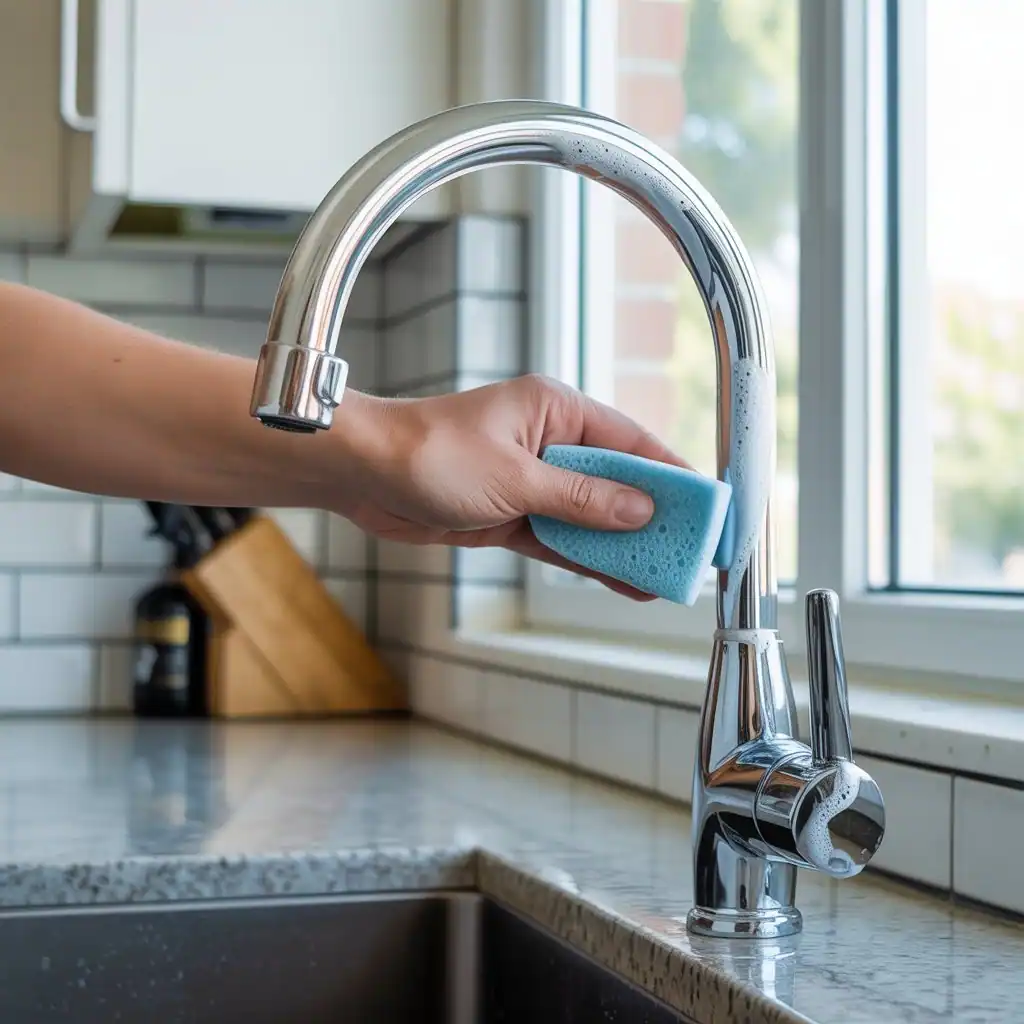
Start With Gentle Cleaning Methods
When removing limescale, it is important to begin with gentle methods. Aggressive scrubbing or harsh chemicals can damage finishes and leave scratches.
Use soft cloths or sponges and apply cleaning solutions that are suitable for the material you are working with.
A careful approach helps protect surfaces while still removing buildup.
Allow Solutions Time to Work
One of the most effective ways to remove limescale is to let the cleaning solution sit for a few minutes before wiping.
This gives it time to break down mineral deposits, making them easier to remove without excessive effort.
Rushing this step often leads to unnecessary scrubbing and potential damage.
Pay Attention to Small Details
Limescale often builds up in small or hard-to-reach areas such as around faucet bases and showerhead openings.
These spots require extra attention to ensure complete removal. Using tools that can reach into tight spaces helps achieve better results.
Ignoring these areas can allow buildup to return quickly.
Rinse and Dry Thoroughly
After removing limescale, it is essential to rinse surfaces thoroughly. Any leftover cleaning solution can leave streaks or residue.
Drying the surface with a clean cloth prevents water spots and slows down the formation of new limescale.
This step is simple but highly effective.
Prevent Future Buildup
Preventing limescale is much easier than removing it repeatedly. Wiping down surfaces after use reduces the amount of water that evaporates and leaves mineral deposits behind.
Keeping surfaces dry is one of the most effective ways to maintain a clean appearance.
Maintain Fixtures Regularly
Regular maintenance prevents limescale from becoming difficult to remove. Light cleaning performed consistently is more effective than occasional deep cleaning.
Pay attention to early signs of buildup and address them immediately.
Avoid Common Mistakes
Using abrasive tools or overly strong chemicals can damage fixtures and make surfaces more prone to future buildup.
Another mistake is waiting too long between cleanings, which allows limescale to harden and become more difficult to remove.
Choosing the right methods and staying consistent leads to better results.
Create a Simple Cleaning Routine
Incorporating limescale prevention into your regular cleaning routine saves time and effort in the long run.
A few minutes of maintenance after each use can prevent hours of scrubbing later.
Consistency is the most important factor.
Final Thoughts
Limescale is a common issue, but it does not have to be a permanent one. With the right techniques and regular care, you can keep your bathroom fixtures clean, shiny, and free from buildup.
By focusing on prevention and using gentle, effective methods, you can maintain both the appearance and functionality of your bathroom without unnecessary effort.